Thermal Label Printer Guides & Support
Getting your label content right is important to protect consumers and meet your legal responsibilities. Browse the labelling guides below to find out more about the labelling regulations for your industry.
Please note, SOLO derivatives of these printers are exactly the same with the exception of firmware. These guides are interchangeable with the SOLO derivative of each model.
Read more labelling guides and help:


Printer Installation Guides
- TSC Printer Installation
- SOLO Printer Installation
Printer Troubleshooting
- Printer Care & Maintenance
- Printer Troublshooting
Printer Usage Guides
- Label Calibration
- Battery Replacement
- WiFi Setup (option)
TSC User Manuals
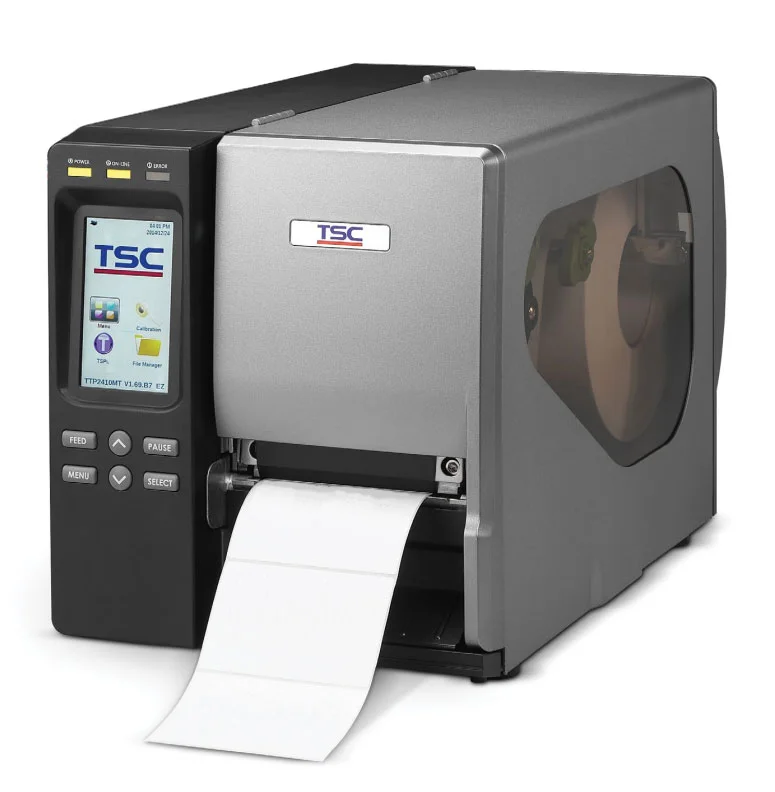
- TSC TTP-2410 (High speed industrial printer)
- TSC TTD-225 (these printers are now obsolete)
- DA200/DA300 Series (Direct thermal entry level printer)
- TC200/TC300 Series (Thermal transfer entry level printer)
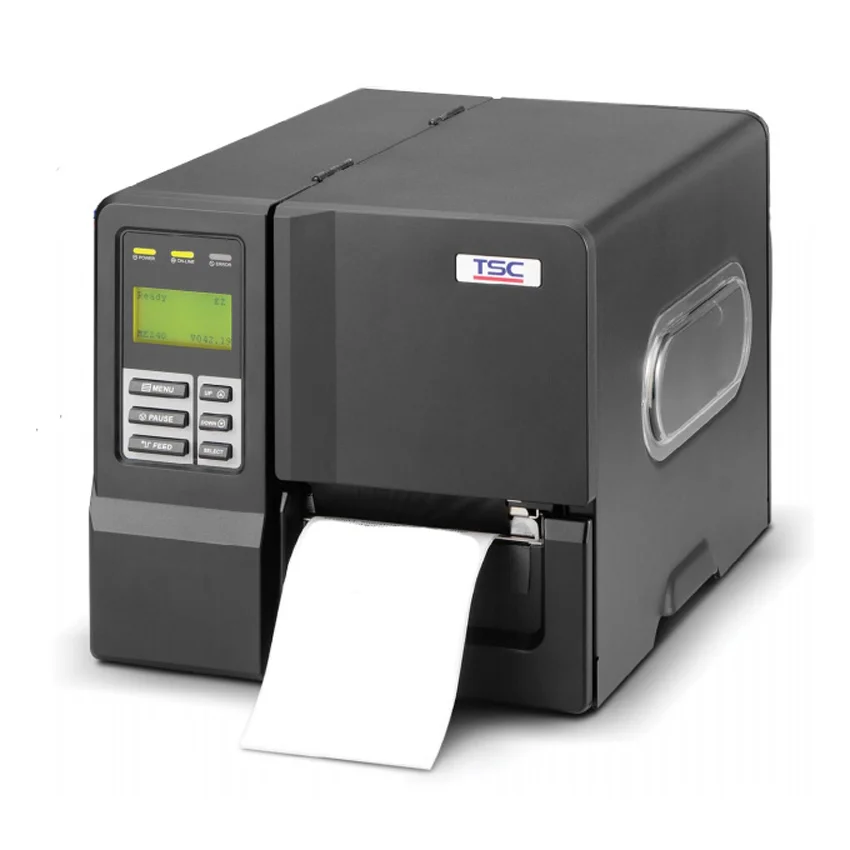
- MB240 – MB340 – ME240 – ME340 (Entry level industrial printers)
- Food and chemical labelling guides
- Label printer software guides (EnLabel and Label Direct)
We’ve had a great experience working with this supplier, especially with Natalie - she is always very responsive, professional, and friendly. The pricing is highly competitive and the sales service has been excellent from start to finish.If I could offer one suggestion, it would be to improve the account and invoice management process. It would be really helpful if there were a system for clients to easily track their past orders and invoices in one place.Overall, very pleased with the service and look forward to continuing our collaboration.
Absolutely brilliant service from start to finish. The team are brilliant and the product was excellent quality and exactly what I wanted. Natalie is amazing as are her colleagues. Will definitely be a returning customer. Thank you
Ive used Positive ID Labelling Ltd for all our egg box labels for many years now. Natalie is always above and beyond helpful and the service is exceptionally fast and efficient.
I inadvertently ordered the incorrect label guns which was quickly sorted by Natalie. She was excellent, customer service at its best! Thank you once again